SIEMENS SIMATIC S7 + WINCC
WinCC
Boiler Project
• Compile OS. Right-click on the WinCC OS_ES project and select the menu item Compile.

• Click Next in the introduction window.

• Associate S7 program CALD to the OS_ES operating station.

• Select TCP/IP network connection for simulation. Click the Connection button.
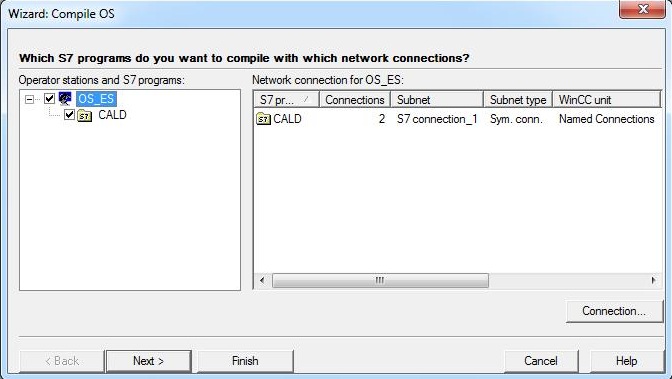
• Select TCP/IP.
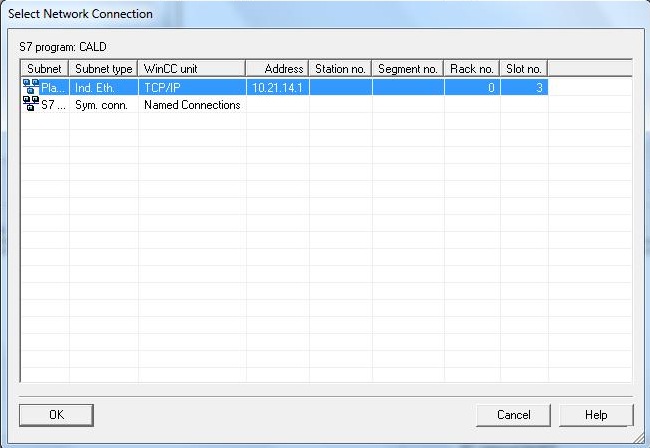
• Click on Next.

• First compilation window:
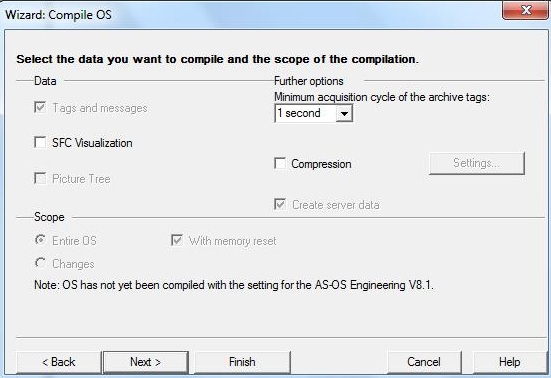
• After the first compilation, the window appears with options to compile Tags and messages, in addition to the scope Entire OS (complete compilation, with or without memory reset) and Changes (only new changes).

• Click on Compile button.

• Open WinCC. Right-click on OS_ES and select Open Object menu item.

• WinCC open with all your applications:
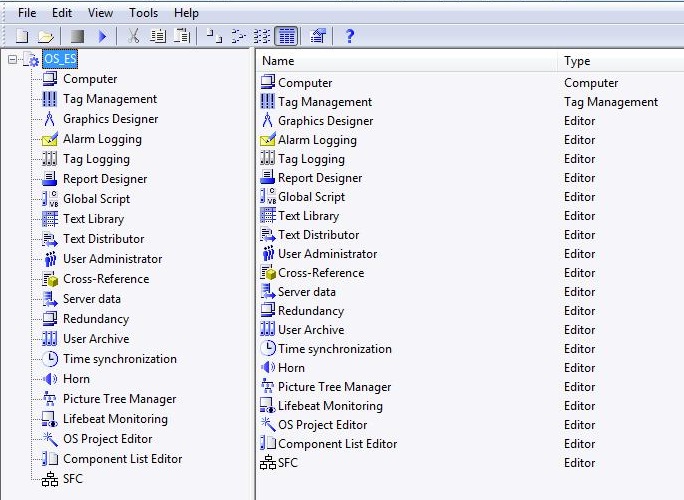
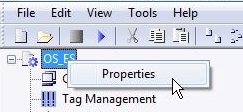
• Right-click on OS_ES and open the properties.
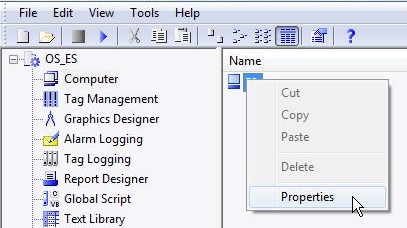
• In the Options tab, check the option Allow activation on ES to allow the WinCC project to run on the ES engineering station.

• Select Computer option (first item in the list on the left), right click on the ES computer and select Properties.
• In the Parameters tab, select the language in Runtime with English (United States).

Click here to download pictures and images of the Boiler Project
• Create picture Jats (or copy ready-made pictures in the Caldeira_Prj\Caldeira\wincproj\OS_ES\GraCS project path folder). Click on Graphics Designer with the mouse button and select menu item New picture.
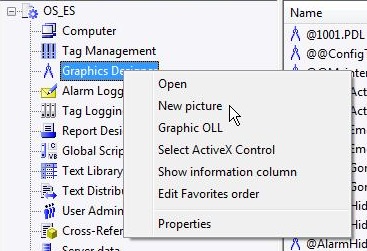
• The new picture will appear at the end of the project's pictures list (objects on the right side) with the name NewPdl0.pdl. Right-click on NewPdl0.pdl, select menu item Rename picture and change its name to Jats.pdl.
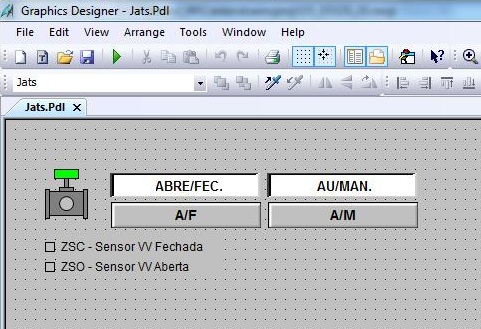
• Double-click on Jats.pdl to open Graphics Designer for editing.
• Edit picture Jats and streamline your objects (see step by step in the tutorial).
